- Register
- Log in
-
Shopping cart
0
You have no items in your shopping cart.
Quilling Gallery Instructions
This page will show you step-by-step how to setup your very own quilling gallery. Hopefully these instructions are easy to follow. But, if you are having any trouble, don't hesitate to contact us.
Step 1) In order to setup your quilling gallery, you must be a registered user and logged into our website. You can do that by clicking the appropriate item on the top menu bar shown below.

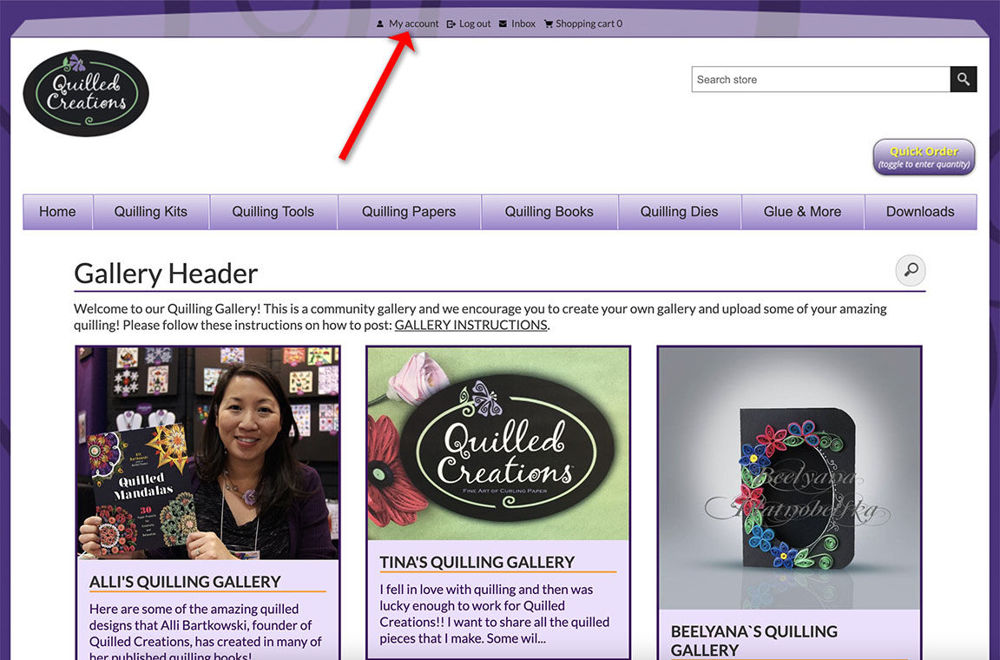
Step 2) Once you are registered and logged in, the next step is to click on "My Account" in the top menu bar.
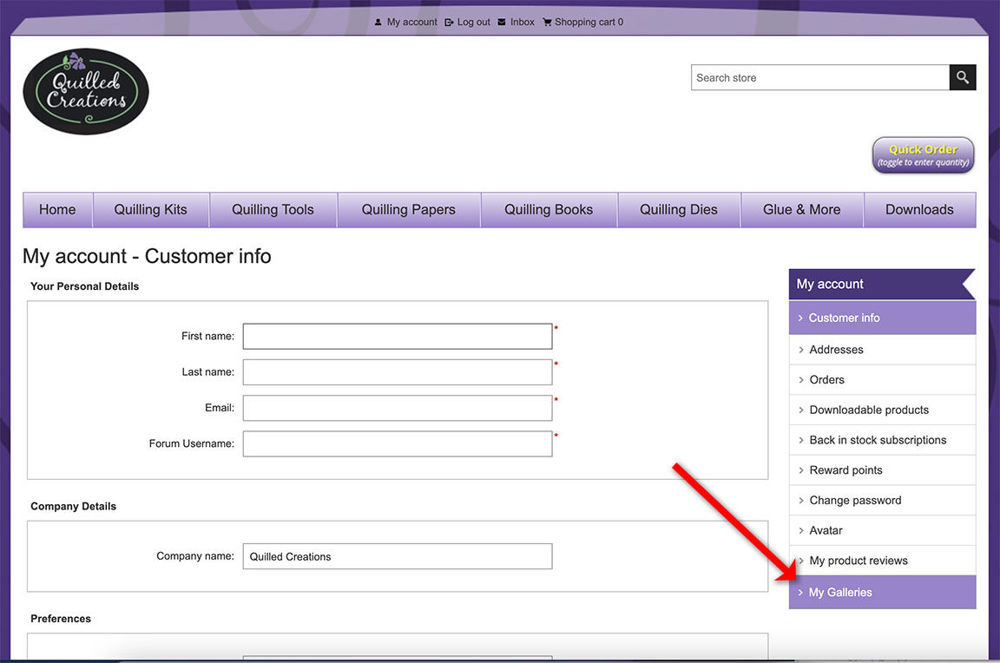
Step 3) You will now see the "My account - Customer info" page. From here you will need to click on "My Galleries".
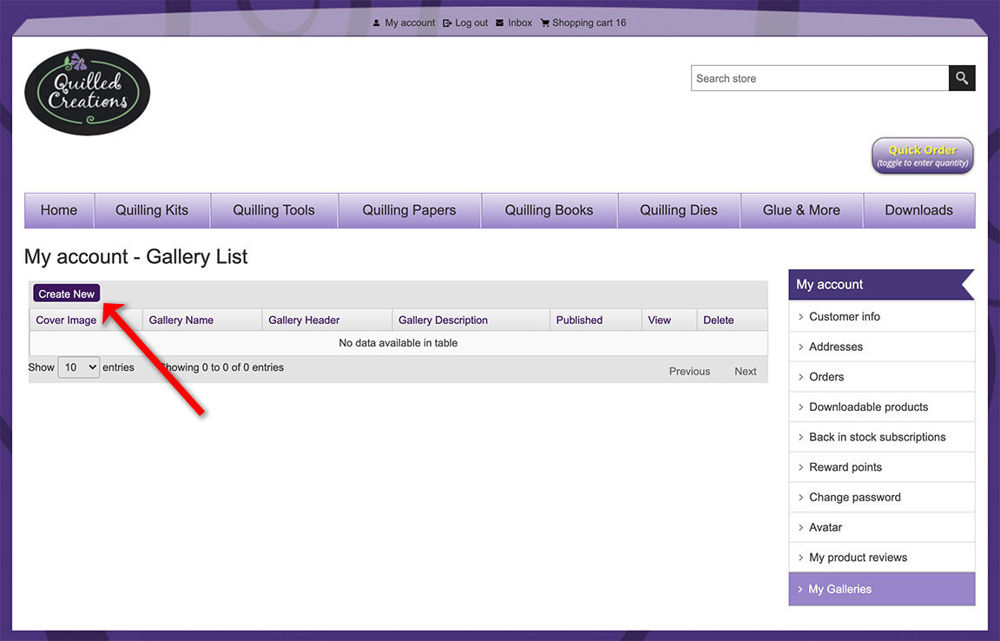
Step 4) Next you can click on "Create New" to begin setting up your gallery.
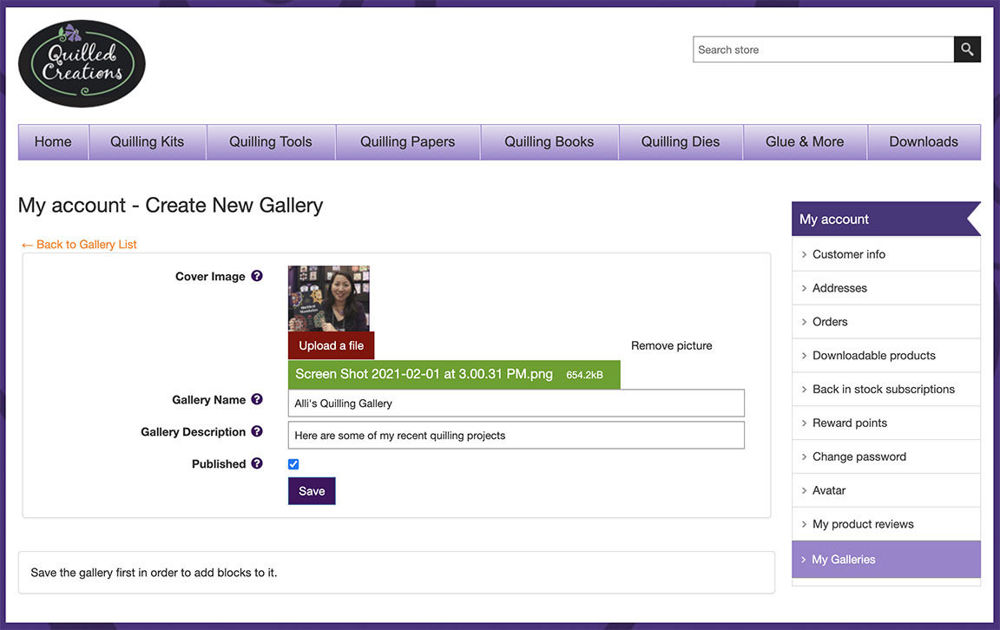
Step 5) First you will need to add your title picture for your gallery. This is the first image everyone will see before entering your gallery. You can drag an image onto the "Upload a file" button or click the button to select from a file menu.
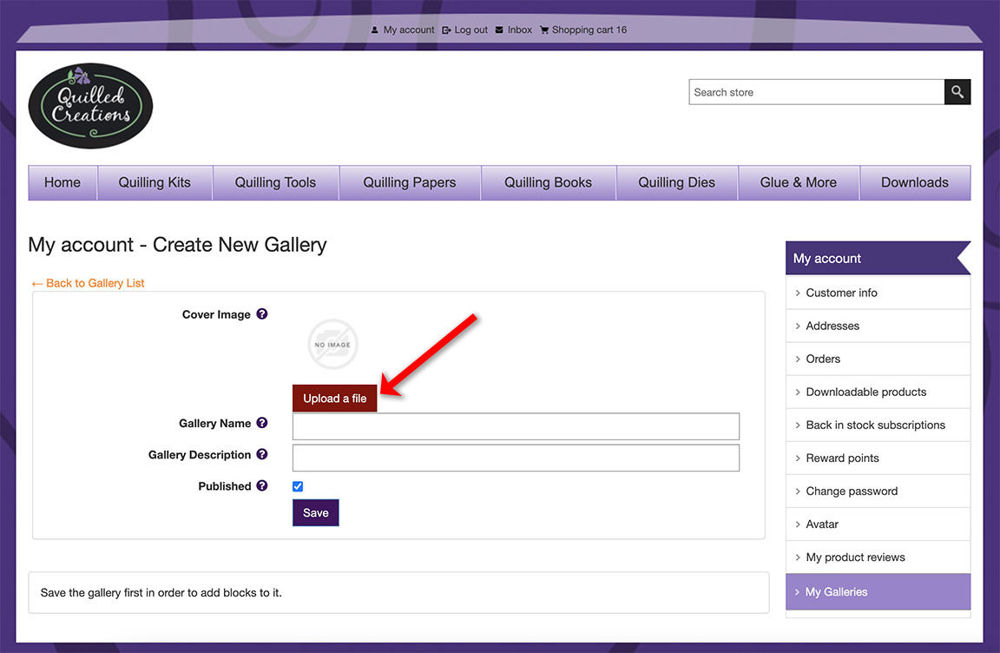
Step 6) Once you have uploaded the image, you must fill out "Gallery Name" and "Gallery Description". Once everything is complete, click "Save".
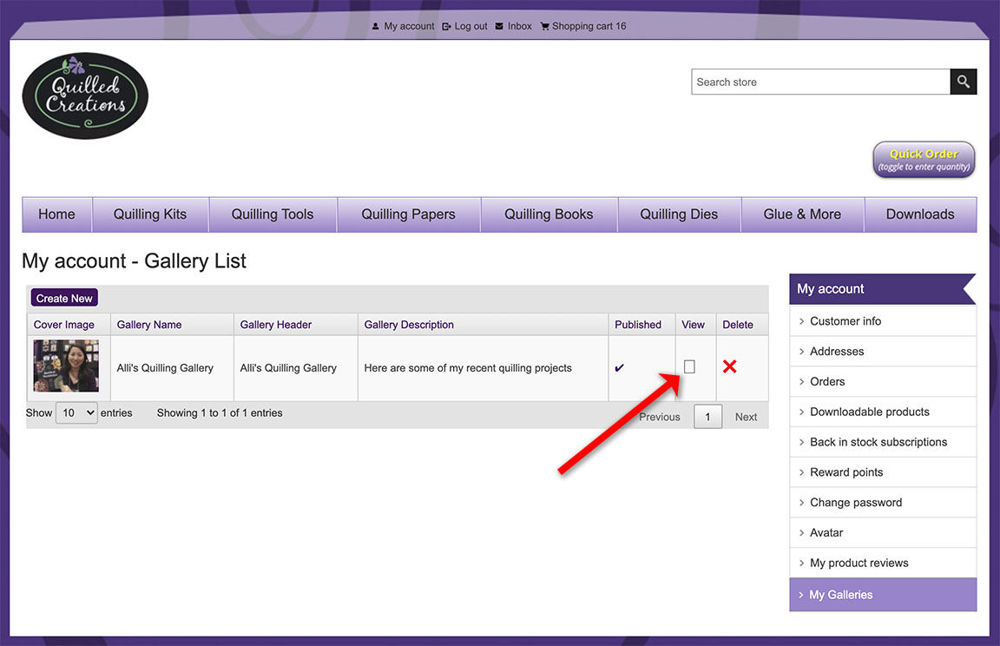
Step 7) Now your gallery is setup. To add pictures to your gallery, you will need to click on the "View" box.
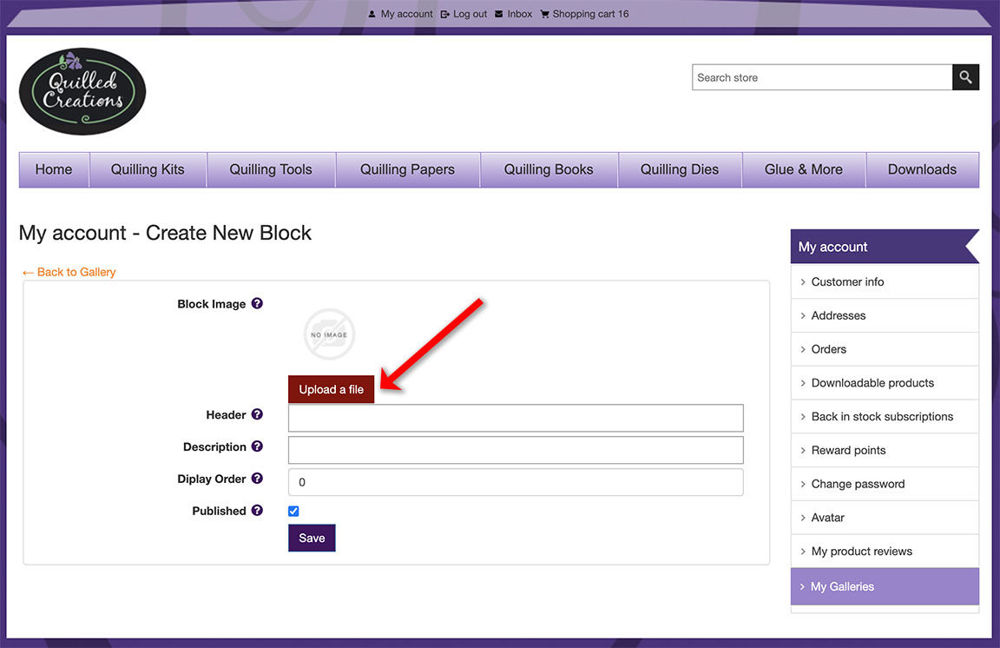
Step 8) Each image will appear as a "block" in the gallery (similar to Pinterest). To add a picture to the gallery, click on the "Create New" under the Block List.

Step 9) Now you will need to upload an image (just like before). You can drag an image onto the "Upload a file" button or click the button to select from a file menu. Then fill out the description of the picture you are adding to your gallery. You can adjust the order the pictures are shown by changing the number in the Display Order field (0 is first, 1 is second, etc). Once everything is complete, click "Save".
That's it! If you have any trouble, don't hesitate to Contact Us.
We can't wait to see all your quilled creations in the Quilling Gallery!